Directing Participants To Your Programs
There are three main ways that you can direct potential participants to complete your application forms inside Hanover.
There are three main ways that you can direct potential participants to complete your application forms inside Hanover.
Integrating Hanover into your current website 💻
Directing participants to your unique registration link 🔗
Creating the participant as an admin and inviting the participant 📩
This article will outline how to do each of these. Let’s get started 💪
Integrating Hanover into your current website 💻
Every program that you create has its own unique code that will allow participants to complete that programs application form.
You can find that code underneath the application form inside every program you complete.

There are two ways to add it to your website;
Give it to your website developer, they should know what to do with it 🖥
Or, add the code to your website yourself 🏋
To add the code to your website yourself you’ll need to;
Log into your website Content Management System (CMS) → Navigate to the webpage that you’d like to show it on → Paste the HTML code from Hanover into the HTML source code on that webpage → Hit save → Refresh the webpage on your website → Success 🎉
Directing participants to your unique registration link 🔗
Hanover has a unique URL that you can give to participants so they can register for any one of your programs.
You can find that link by navigating to ‘Programs’ → Scrolling to the panel below your existing programs list called ‘Use this URL to direct participants to apply to your programs’.
Copy that URL and use it in whatever way makes sense for your business 🤙

Creating the participant as an admin and inviting the participant 📩
All admin-users have the ability to create participants inside Hanover.
From the main menu;
Click ‘Participants’ → ‘Create Participant’ → Enter your participant's details → Make sure to tick the ‘Invite this participant to the participant portal’ option* → Hit ‘Create Participant’.
By default, the 'Invite participant?' option will not be selected. This means that the participant will not receive an email inviting them to log into the Participant Portal.
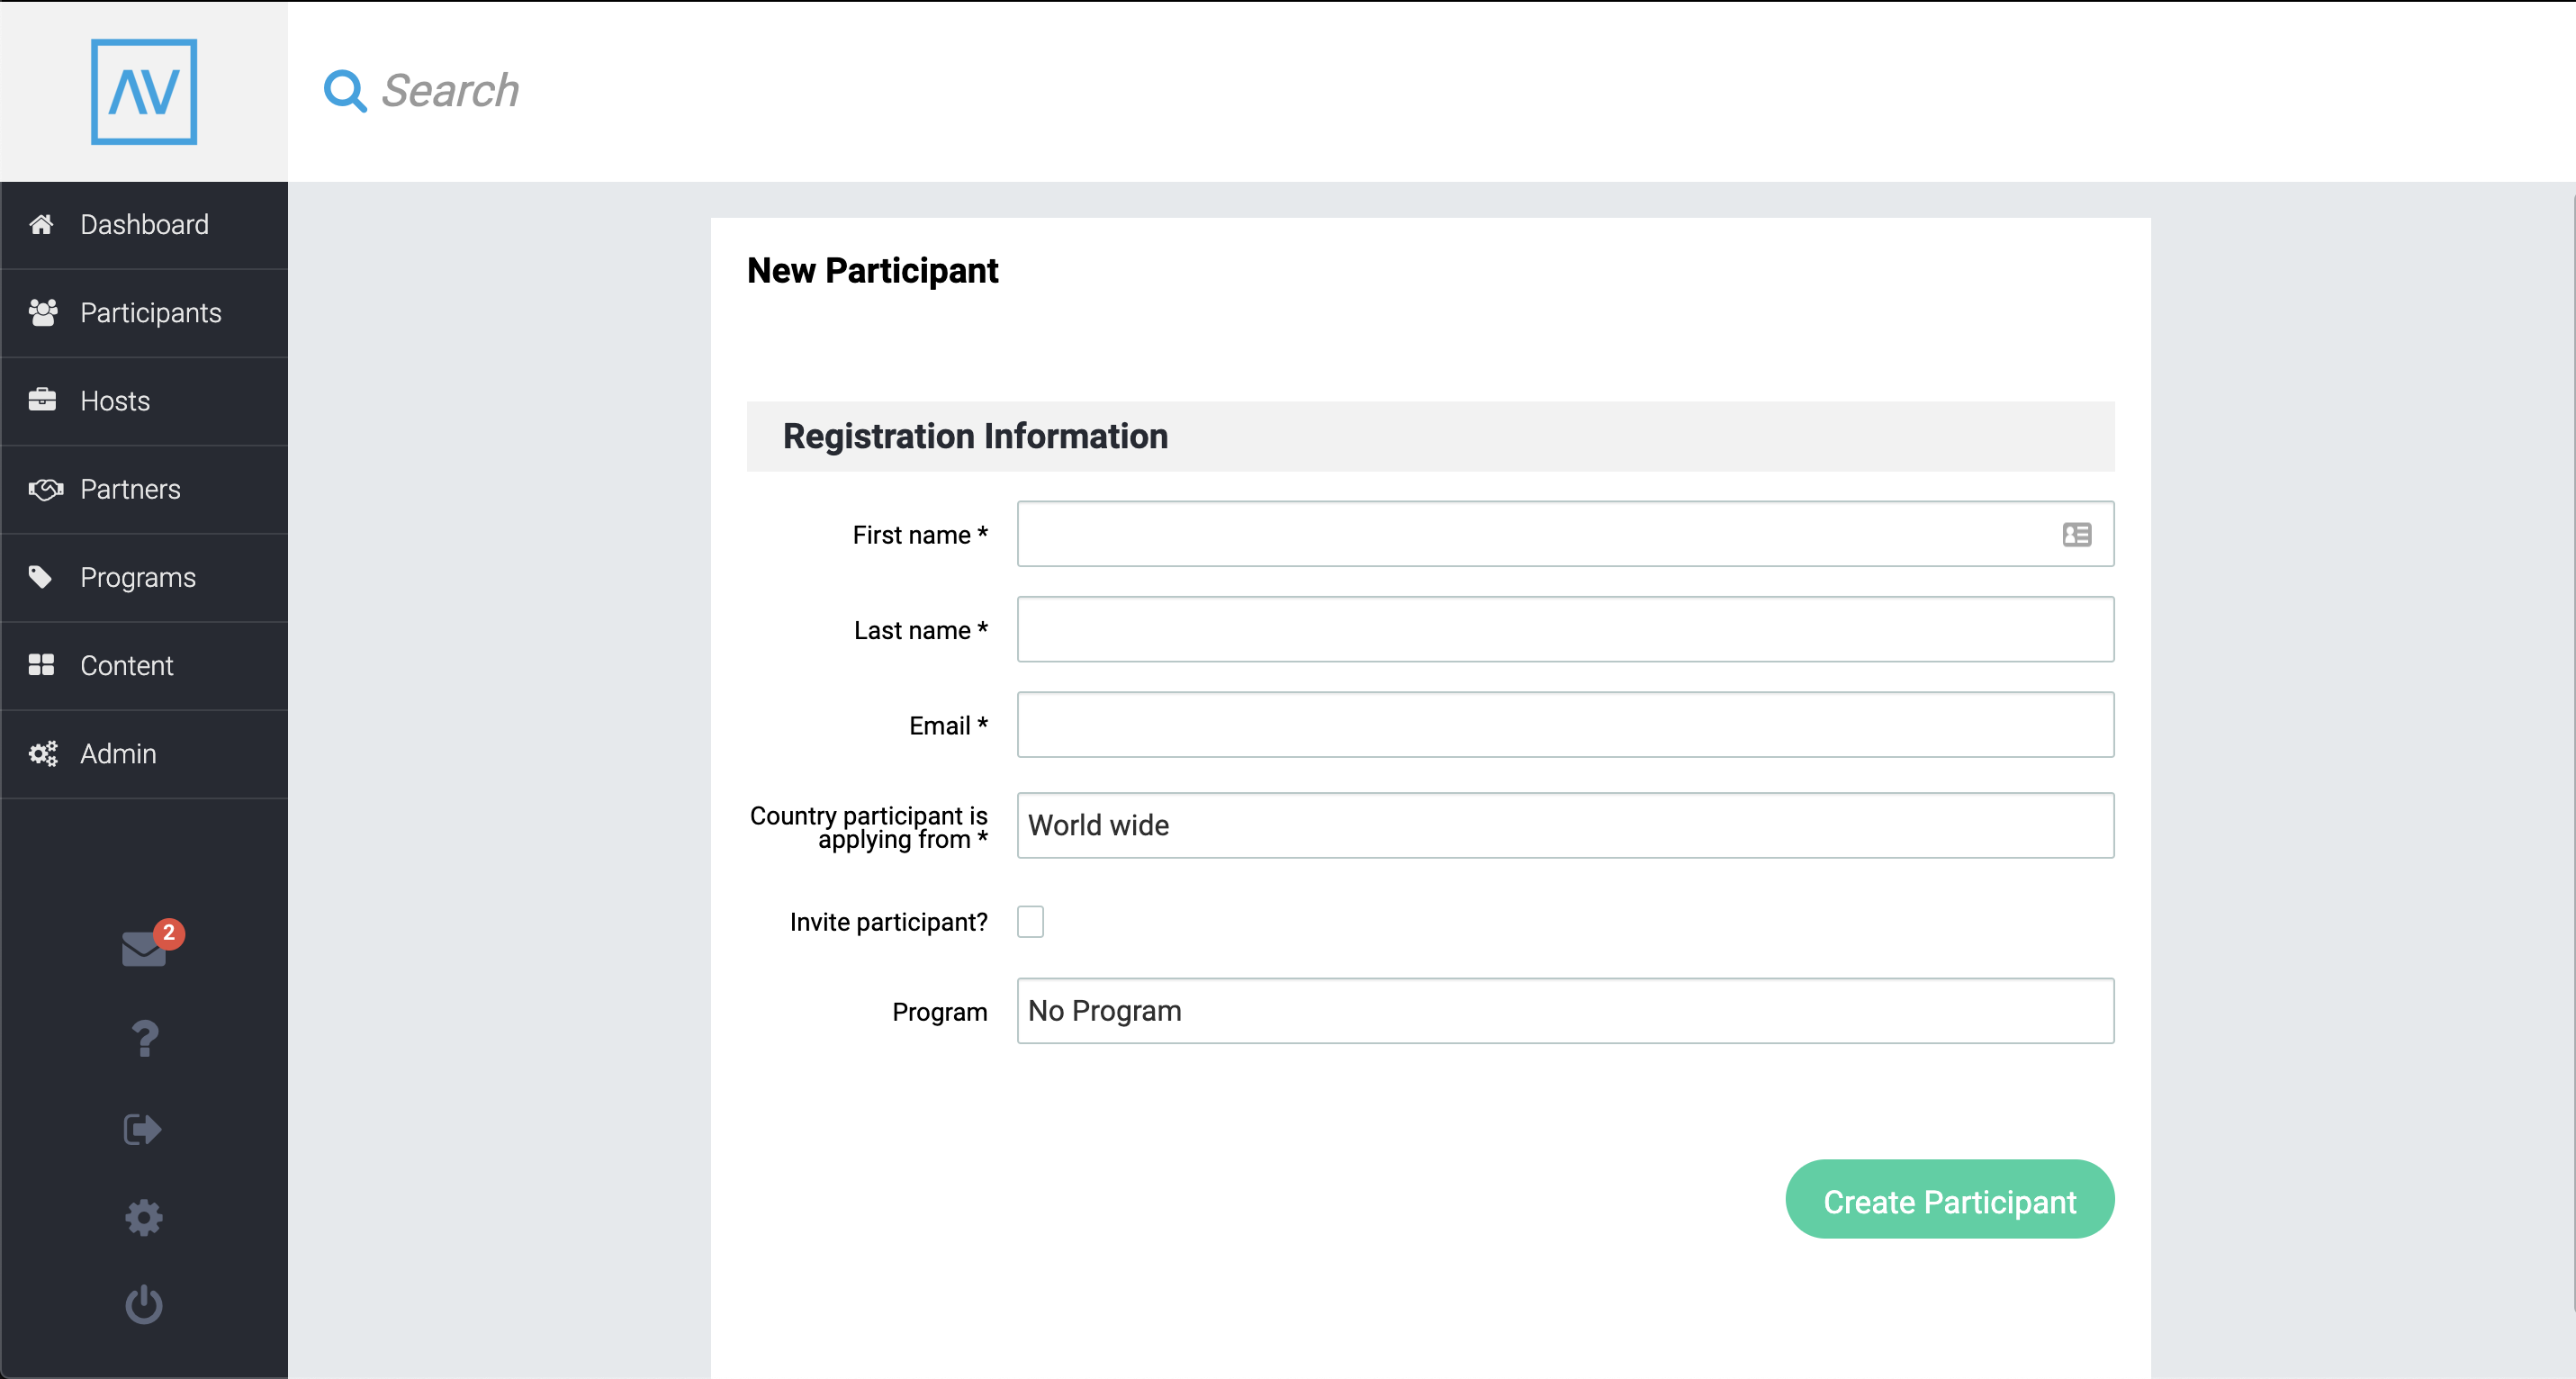
If you would like to invite the participant to the Participant Portal, please make sure the 'Invite participant?' is selected. Once you click 'Create Participant', Hanover will automatically email the participant inviting them to create a password and access the participant portal.
Creating a login section on your website
You can direct all of your participants, hosts and partners to log into their portals through the same URL where you sign into your admin account.
It looks like this, “www.[your company name].hanovercrm.com”
You can also add a login section directly in your website using the code snippet found in the bottom panel of the ‘Programs’ page.

There are two ways to add it to your website;
Give it to your website developer, they should know what to do with it 🖥
Or, add the code to your website yourself 🏋
Once integrated, here’s how it will look.
To add the code to your website yourself you’ll need to;
Log into your websites Content Management System (CMS) → Navigate to the webpage that you’d like to show it on → Paste the HTML code from Hanover into the HTML source code on that webpage → Hit save → Refresh the webpage on your website → Success 🎉
Did this answer your question?